Moving your WordPress site? Testing after migration is crucial to ensure everything works perfectly. Here’s what you need to focus on:
- Functionality: Verify core features, plugins, and themes work as expected.
- Content Accuracy: Check posts, pages, and media for proper display.
- Performance: Test site speed, responsiveness, and mobile-friendliness.
- SEO: Ensure URLs, redirects, and metadata are correct to protect rankings.
- Security: Confirm SSL setup and resolve mixed content issues.
Key Steps Before Testing:
- Back Up Your Site: Create multiple backups (database, files, media) and store them securely.
- Turn Off Caching Plugins: Avoid outdated views by disabling caching tools.
- Clear All Caches: Browser, server, plugin, and CDN caches must be purged.
Final Checks:
- Test themes, plugins, custom features, and navigation.
- Review content formatting, media files, and broken links.
- Measure speed with tools like PageSpeed Insights and GTmetrix.
- Fix database errors, HTTPS issues, and plugin conflicts.
For complex migrations or troubleshooting, professional assistance can save time and ensure a smooth transition.
How to Manually Migrate Your WordPress Site

Before You Start Testing
Before jumping into post-migration testing, make sure you’ve completed these key steps.
Back Up Your Site
Backing up your site is a must to avoid losing data during testing.
“WordPress Backups are your insurance policy against migration failures, ensuring you can always recover your site to a working state.” – Hosted.com Articles
Here’s a quick guide to creating a reliable backup:
- Create multiple backups: Make at least two complete copies of your site, including:
- Database files
- WordPress core files
- Themes and plugins
- Uploaded media
- Any custom code
- Store backups securely: Keep one backup on your computer and another in cloud storage (e.g., Google Drive or Dropbox) for added safety.
Turn Off Caching Plugins
Caching plugins can cause issues during testing by showing older versions of your site. Deactivate these common WordPress caching plugins before testing:
You can disable them directly in your WordPress dashboard to ensure you’re seeing the most up-to-date version of your site.
Clear All Cache Types
Clearing caches is essential to avoid outdated content and get accurate test results. Here’s a breakdown of different cache types and how to clear them:
| Cache Type | Location | Clearing Method |
|---|---|---|
| Browser Cache | Local Device | Use your browser’s settings menu |
| Server Cache | Hosting Server | Use your hosting control panel |
| Plugin Cache | WordPress | Clear via plugin settings |
| CDN Cache | Content Network | Purge through your CDN dashboard |
For Chrome users, you can clear your browser cache by:
- Clicking the three-dot menu in the top-right corner.
- Selecting “More tools” > “Clear browsing data.”
- Choosing “All time” for the time range.
- Checking “Cached images and files.”
- Clicking “Clear data.”
If you’re unsure how to clear server-side cache, reach out to your hosting provider. Many managed WordPress hosts offer one-click cache clearing in their dashboards.
Clearing all caches ensures you’re testing the actual state of your site without hidden issues. Once this is done, you’re ready to start testing your site’s basic functions.
Testing Basic WordPress Functions
Once your site is set up, it’s time to make sure everything works as expected.
Check WordPress Basics
Start by testing the essential WordPress features:
- Log in as both an administrator and a regular user to confirm proper access.
- Navigate through the dashboard to ensure menu items and settings pages load without issues.
- Upload a few new files to test the media library, and check that existing media displays correctly.
- Create test posts using both the Classic and Gutenberg editors to verify content creation works smoothly.
Check Themes and Plugins
Next, review your themes and plugins to ensure they’re functioning as intended:
| Test Area | What to Check | Common Issues |
|---|---|---|
| Theme Display | Layout, fonts, colors | Missing styles, broken layouts |
| Theme Functions | Customizer, widgets | Configuration errors |
| Plugin Operation | Core features, settings | Database connection errors |
| Custom Elements | Shortcodes, blocks | Broken functionality |
For a deeper dive into plugin testing:
- Check PHP Compatibility
Confirm your server’s PHP version meets the requirements for your theme and plugins. - Verify Plugin Dependencies
Ensure all required plugins are active and properly configured. - Review Plugin Settings
Go through each plugin’s settings to confirm everything transferred correctly.
Once you’ve confirmed your themes and plugins are working, move on to testing custom features.
Test Custom Features
Custom features often include external API connections (like payment gateways or email services) and custom code elements (such as post types, taxonomies, widgets, or shortcodes). Test these thoroughly to ensure they’re functioning as expected.
To help with debugging, add the following lines to your wp-config.php file:
define('WP_DEBUG', true);
define('WP_DEBUG_LOG', true);
define('WP_DEBUG_DISPLAY', false);
If your site includes complex customizations, consider using a staging environment for testing. This approach allows you to identify and fix issues without risking your live site.
Content and Media Tests
After checking functionality, it’s time to ensure all content and media display properly following the migration.
Review Posts and Pages
Carefully go through each post and page to confirm:
- Formatting: Check headings, lists, tables, and custom HTML for proper structure.
- Special Characters and Embeds: Ensure characters display correctly and embedded content works as expected.
- Custom Blocks and Third-Party Elements: Verify that these load without issues.
Enable the Show All Changes option during this process to spot any discrepancies caused by the migration.
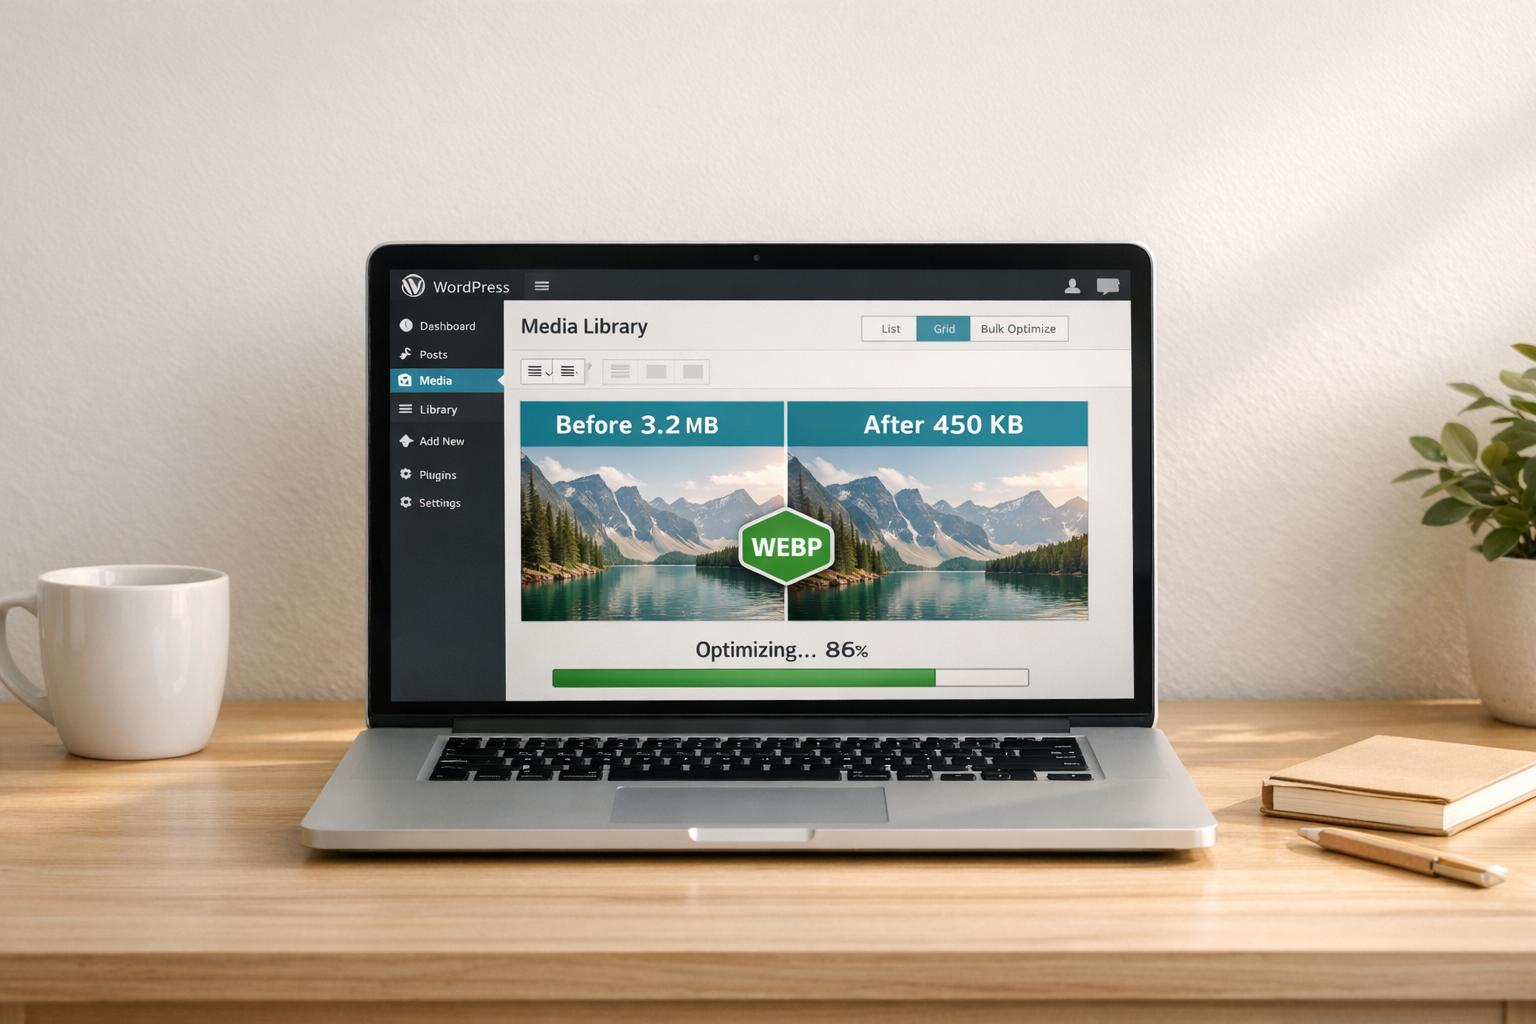
Check All Media Files
Once the content is verified, move on to media files. Assess their consistency and functionality.
| Type | What to Check | Potential Issues |
|---|---|---|
| Images | Resolution, alt text, thumbnails | Broken paths, missing thumbnails |
| Videos | Playback, encoding | Missing files, incorrect MIME types |
| Documents | Download functionality | File permissions, 404 errors |
| Media Library | Library structure | Broken references, missing metadata |
For extensive media libraries, use WordPress media filters to sort files by date. This helps you focus on the most recently migrated content.
Test Navigation Elements
Navigation plays a key role in user experience. Test all elements thoroughly:
- Primary Navigation: Check main menu items, dropdown menus, and how the mobile menu appears.
- Secondary Navigation: Ensure sidebar widget links, category and tag navigation, and breadcrumb links work as intended.
- Search Functionality: Test basic search queries, results display, and advanced filters (if your site uses them).
Verify menu locations in WordPress and manually inspect each link to confirm it leads to the correct destination. Use the same thoroughness as with theme checks to ensure navigation elements guide users seamlessly.
sbb-itb-976b402
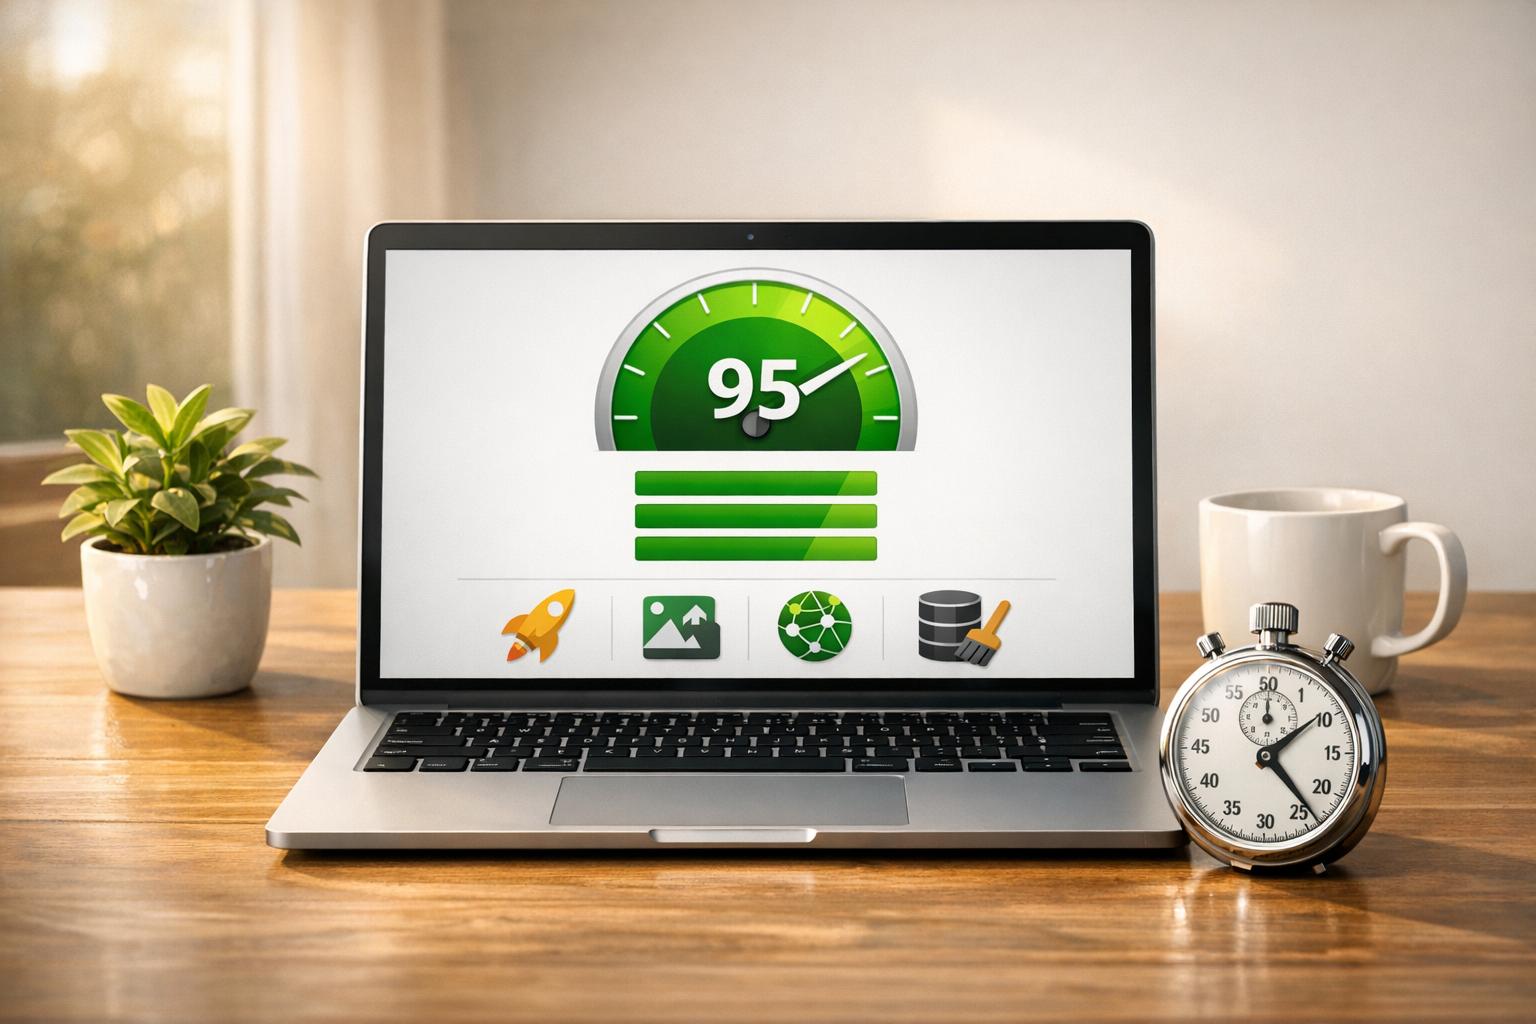
Speed and Performance Tests
After migration, it’s essential to evaluate your site’s speed and responsiveness. Did you know that a 3-second delay can lead to over half of your visitors leaving the site? That’s a big deal.
Measure Load Speed
Use these tools to check how well your site performs:
| Tool | What It Measures | Benefits |
|---|---|---|
| PageSpeed Insights | Lab data, field data, Core Web Vitals | Real-world user data over 28 days |
| GTmetrix | Page performance, Web Vitals | Tests from 22 global locations |
Run these tests at different times of the day for a more accurate picture. PageSpeed Insights is especially helpful – it gives you lab data for debugging and field data based on actual user interactions. Don’t overlook Time to First Byte (TTFB), as it often highlights server-related issues that pop up after migration.
Check Mobile Display
Once you’ve assessed load speed, shift focus to how your site performs on mobile. With over 55% of web traffic coming from mobile devices, this is non-negotiable. Pay attention to these areas:
- Responsive Design: Check how your theme adapts across various devices.
- Navigation: Ensure menus work smoothly and buttons are easy to tap.
- Content Layout: Text should stay readable, and images should resize properly.
For a thorough review, try Google’s Mobile-Friendly Test tool and test your site on actual devices. Landing pages deserve extra attention since poorly optimized ones tend to have higher bounce rates.
Test Web Vitals
Keep an eye on Core Web Vitals – these directly affect user experience and SEO. Here’s what to aim for:
| Metric | Target | Common Issues After Migration |
|---|---|---|
| Largest Contentful Paint (LCP) | Under 2.5s | Problems with image paths, caching |
| First Input Delay (FID) | Under 100ms | JavaScript errors, plugin conflicts |
| Cumulative Layout Shift (CLS) | Under 0.1 | Issues with theme customizations |
To tackle these challenges:
- Clear all caches, including server-side and plugin caches.
- Remove unnecessary data from your database.
- Ensure your server is properly resourced for your site’s needs.
- Update outdated URLs with tools like Better Search Replace.
- Fix any plugin compatibility problems.
For the best results, run performance tests from different locations to get a broader view of how your site performs globally.
Security and SEO Checks
After assessing performance, it’s time to ensure your site’s security and SEO settings are in order. This step is essential for maintaining user trust and search engine rankings.
Check SSL Setup
Make sure your site uses HTTPS by looking for the padlock icon in the browser. To confirm your SSL setup, follow these steps:
- Verify SSL Status
Use these tools to check your SSL configuration:Tool What It Tests Key Indicators SSL Labs Certificate validity, protocol support A+ to F rating Why No Padlock Mixed content issues Specific file locations Chrome DevTools Console errors Real-time SSL warnings - Update WordPress Settings
In your WordPress dashboard, go to Settings > General. Update both the WordPress Address (URL) and Site Address (URL) to include “https://”. This adjustment prevents common post-migration problems.
Once your SSL setup is confirmed, shift your focus to SEO configurations.
Review SEO Files
Carefully examine your SEO files to avoid issues like blocked resources, old sitemaps, or conflicting directives.
“It’s inevitable that we are moving to an all-HTTPS web.” – Yoast
Test URL Settings
Proper URL configuration is essential to maintain SEO performance. Focus on these key elements:
| URL Element | What to Check | Common Issues |
|---|---|---|
| 301 Redirects | HTTP to HTTPS | Multiple redirect hops |
| Canonical Tags | Correct URL format | Incorrect domain references |
| Internal Links | Updated to HTTPS | Mixed content warnings |
To ensure everything works smoothly, update database URLs using tools like Better Search Replace, check redirects with online tools, add your HTTPS site to Google Search Console, and request a new crawl of your robots.txt file.
Fix Common Migration Problems
After following the testing steps, it’s crucial to address any migration issues quickly to keep your site running smoothly. Post-migration problems are common, but they can be resolved effectively. Here’s how to tackle some of the most frequent issues.
Database Error Solutions
The “Error Establishing a Database Connection” message usually means your WordPress site can’t connect to its database. Here’s a breakdown of typical causes and fixes:
| Error Type | Common Cause | Solution |
|---|---|---|
| Connection Error | Incorrect credentials | Check your wp-config.php credentials. |
| Database Repair | Corrupted tables | Use the WordPress repair tool. |
| Collation Mismatch | Incompatible character sets | Update the database collation. |
Steps to fix database connection problems:
- Enable WordPress Debug Mode
Add this line to yourwp-config.phpfile to display detailed error messages:
define('WP_DEBUG', true); - Verify Database Settings
Double-check the following database details in yourwp-config.phpfile:DB_NAMEDB_USERDB_PASSWORDDB_HOST
- Run Database Repair
If there are corrupted tables, add this line to yourwp-config.phpfile:
define('WP_ALLOW_REPAIR', true);
Once database issues are resolved, the next step is to address HTTPS content problems.
Fix HTTPS Content Issues
Mixed content warnings occur when a secure site (HTTPS) loads some resources over HTTP. This can impact both security and SEO performance. Common culprits include:
- Hard-coded image URLs
- JavaScript files
- CSS stylesheets
- External fonts
- Embedded videos
How to resolve HTTPS issues:
- Use browser developer tools to identify mixed content.
- Update internal links to use relative URLs.
- Replace HTTP resource links with their HTTPS versions.
- Force HTTPS using your
.htaccessfile.
Once HTTPS issues are handled, check for plugin-related conflicts.
Solve Plugin Issues
Plugin conflicts can cause major disruptions, affecting site performance and traffic. Here’s how to resolve them:
- Initial Troubleshooting
Clear your caches, update all plugins, and switch to a default theme to rule out any conflicts. - Isolate the Problem
If issues persist, follow these steps:Step Action Purpose 1 Switch to a default theme Rule out theme conflicts. 2 Deactivate all plugins Identify if plugins are the issue. 3 Reactivate plugins one-by-one Pinpoint the problematic plugin. 4 Test functionality Ensure the problem is resolved. - Emergency Access
If you’re locked out of your WordPress dashboard, use an FTP client to rename thepluginsfolder. This will disable all plugins and allow you to regain access.
With these steps, you can address the most common post-migration issues effectively.
Final Testing Steps
Find Broken Links
Broken links can damage both your SEO efforts and user experience. Use these tools to identify and fix them:
| Tool Type | Purpose | Key Features |
|---|---|---|
| WordPress Plugins | Automated scanning | Real-time monitoring, bulk link editing |
| SEO Platforms | In-depth audits | Detailed reports, priority suggestions |
| Search Console | Error tracking | 404 error tracking, crawl stats |
Here’s how to address broken links:
- Install a broken link checker plugin.
- Export the list of broken URLs.
- Prioritize fixing internal links.
- Update or remove broken external links.
- Set up 301 redirects for outdated or moved pages.
“Broken links are more than just an annoyance. They can hurt your search engine rankings and drive visitors away.” – Joella Dunn, Writer at Duplicator
After fixing the links, be sure to update search engines with the changes to keep your site optimized.
Update Search Engines
It’s important to notify search engines about any structural updates to your site. In Google Search Console:
- Submit Your Sitemap
Upload the main sitemap file, commonlysitemap_index.xmlif you’re using Yoast SEO. - Remove Old Sitemaps
Delete outdated sitemap entries to prevent confusion during indexing. - Monitor Indexing Status
Use the Coverage report to track indexing progress and resolve crawl errors.
This ensures search engines stay updated and your site’s visibility remains intact.
Set Up Site Maintenance
To maintain your site’s performance and security, establish a regular maintenance routine:
Backup Schedule:
- Perform daily incremental backups.
- Schedule full site backups weekly.
- Test backup files monthly to ensure they work.
Update Protocol:
- Update the WordPress core as soon as new versions are released.
- Refresh plugins weekly to avoid compatibility issues.
- Update themes monthly to keep your design current.
Disaster Recovery Plan:
- Keep emergency contact details handy.
- Document backup restoration steps.
- Secure server credentials.
- Set up system alerts for quick action.
Store backups in multiple encrypted locations to avoid data loss.
Monitoring:
- Review logs and run security scans weekly.
- Keep an eye on file sizes to manage storage.
- Optimize storage space regularly.
With these steps in place, your site will run smoothly and remain secure over time.
Next Steps
After completing the earlier checks for performance, security, and content, these final steps will help ensure your site stays optimized following the migration.
Testing Checklist
| Testing Category | Key Items | Priority Level |
|---|---|---|
| Core Functions | WordPress login, admin access, database connections | Critical |
| Content | Posts, pages, media files, custom post types | High |
| Performance | Load times, mobile responsiveness, Core Web Vitals | High |
| Security | SSL certificate, firewall settings, user permissions | Critical |
| Integrations | Analytics, eCommerce systems, forms, APIs | Medium |
| SEO Elements | URL structures, sitemaps, meta data | High |
Run these tests during low-traffic periods. Log any issues you encounter so you can address them methodically.
Professional Help
While many migrations can be handled in-house, some situations call for expert assistance. These include:
- Complex database migrations
- Conflicts with custom plugins
- Addressing security vulnerabilities
- Optimizing site performance
- Emergency recovery scenarios
Professional services can assist with tasks like:
- Setting up a testing environment
- Ensuring uninterrupted site availability
- Configuring DNS settings
- Post-migration monitoring
For urgent needs, 24/7 emergency support with a two-hour response time is available. Partnering with a trusted WordPress service provider ensures your site stays healthy, secure, and up-to-date. This proactive maintenance helps avoid common post-migration challenges and keeps your site running smoothly.