Want your WordPress site to run smoothly and avoid costly mistakes? Start with a solid QA workflow.
Quality Assurance (QA) ensures your WordPress project is functional, secure, fast, and user-friendly before launch. Skipping QA can lead to expensive fixes, security breaches, and poor user experiences. Here’s a quick breakdown of what a strong QA workflow includes:
- Functional Testing: Ensure all features like forms, e-commerce, and custom elements work as intended.
- Performance Optimization: Test site speed, server response, and resource usage.
- Security Checks: Identify vulnerabilities and protect sensitive data.
- Cross-Platform Compatibility: Verify the site performs well across devices, browsers, and screen sizes.
Pro Tip: Use tools like PHPUnit for automated testing, WPScan for security, and Query Monitor for performance. Set up a staging environment to test changes safely before going live.
QA is not just a one-time task – it’s a continuous process that saves time, money, and headaches. Ready to build a reliable QA workflow? Let’s dive in.
The Power of WordPress Testing and Automation: Test Types and When to Use Them
Planning Your QA Workflow
To run an effective QA workflow, you need a solid plan. This means setting clear goals, defining tasks with deadlines, assigning roles, and sticking to a well-organized schedule. Even the best tools won’t help much without a solid framework. A solid plan lays the groundwork for the QA steps we’ll cover next.
Setting QA Requirements
Every WordPress project is unique, so your QA requirements should align with the specific needs of your project. Start by analyzing the project scope to figure out what kind of testing is necessary. For instance, simpler websites may only need basic testing, while complex setups with intricate integrations will demand more thorough protocols.
For e-commerce sites, testing is even more critical. A nonfunctional checkout process or payment error can directly affect revenue and customer trust. Similarly, if your site handles sensitive data, security testing becomes a top priority.
Client expectations also play a key role in shaping your QA process. Whether they’re focused on achieving perfect visual consistency, meeting performance benchmarks, or ensuring security compliance, it’s essential to document these priorities early. This ensures your QA workflow aligns with stakeholder expectations.
A detailed checklist with deadlines can help keep everything on track and ensure no critical steps are missed.
Choosing QA Tools and Resources
The right tools can make your QA process more efficient and help catch issues that might slip past manual testing. When selecting tools, consider their functionality, ease of use, and budget, while also ensuring they’re compatible with WordPress.
Automated testing frameworks are a must for streamlining your workflow. For example, PHPUnit is great for unit testing custom WordPress code, while Selenium is perfect for automating browser tests across different devices and browsers.
Security tools are another key component. Tools like WPScan help identify vulnerabilities such as outdated plugins, weak passwords, or other security risks. Running regular scans, especially before major updates or site launches, helps keep your site secure.
Visual regression testing tools are invaluable for spotting unintended design changes. These ensure updates don’t mess with your site’s layout or aesthetics.
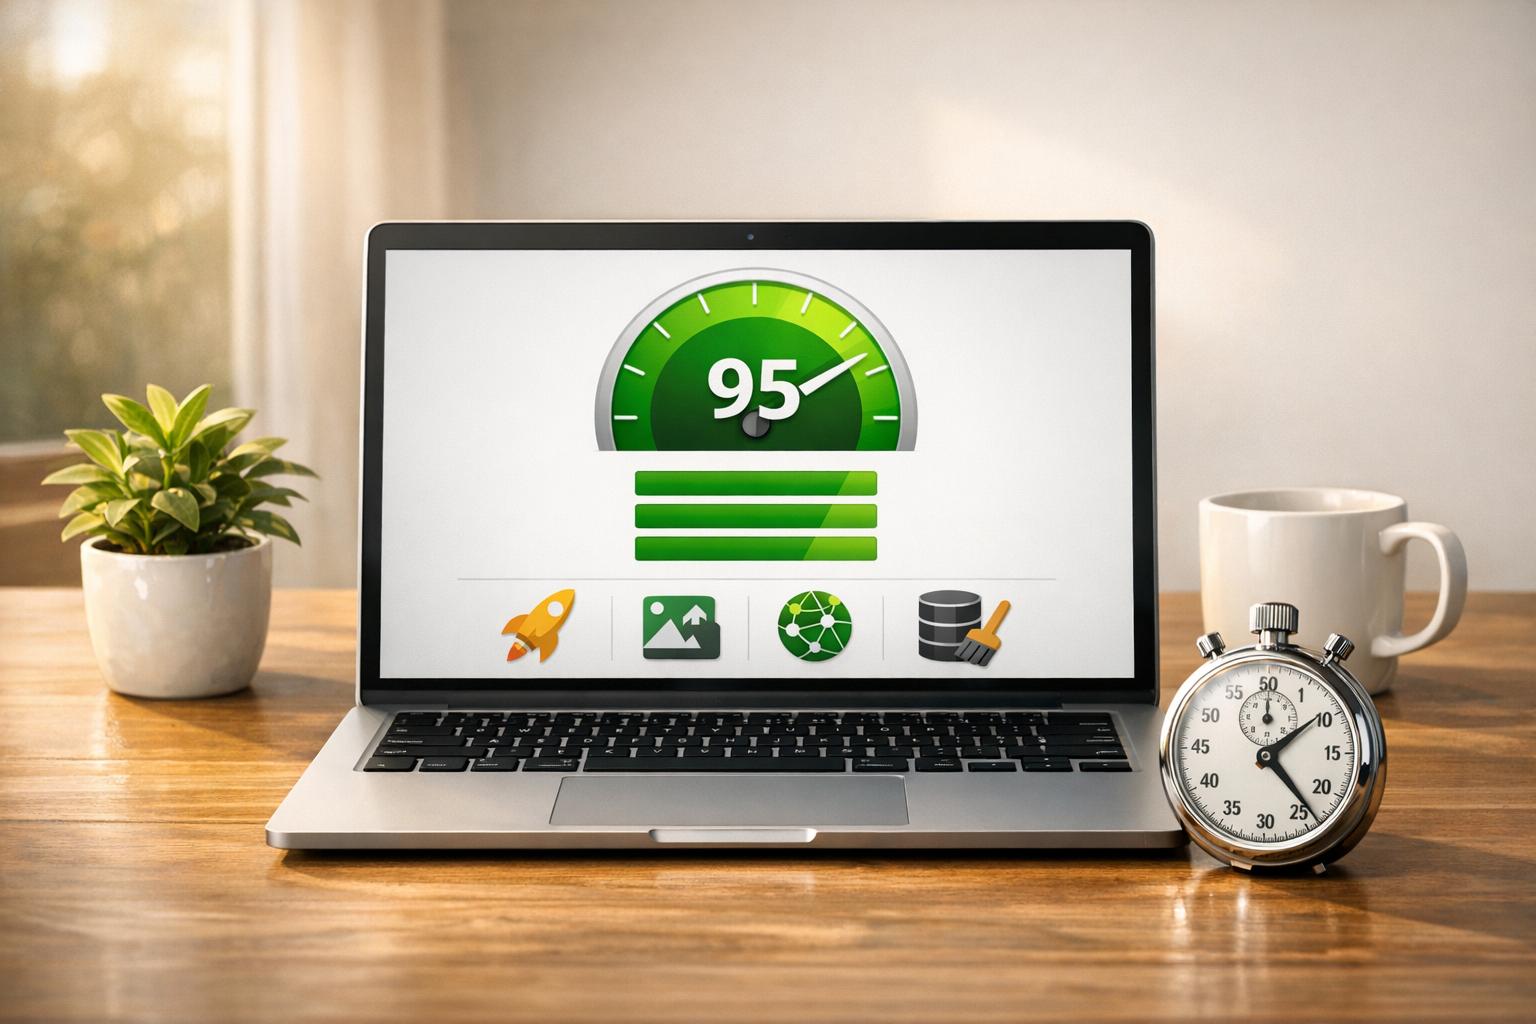
Performance monitoring tools are equally important. For instance, Query Monitor can help you identify slow database queries and plugin conflicts during development. Meanwhile, tools like New Relic provide real-time insights to optimize performance.
When choosing tools, consider your team’s skill level. Open-source frameworks are powerful but may require more expertise, while low-code solutions can be more user-friendly. Combine these tools with a reliable staging environment to strengthen your QA process.
Setting Up a Staging Environment
A staging environment is a safe space where you can test changes without affecting your live site. For accurate results, this environment should closely match your live site’s setup, including the PHP version, WordPress configuration, plugins, and server settings.
To keep your staging environment secure, use password protection and adjust indexing settings to prevent search engines from crawling unfinished work.
Regular synchronization with your live site is crucial. Before major testing phases, update your staging environment with fresh copies of your live database and files to ensure you’re working with the latest data.
Collaboration features can make the review process smoother. Whether it’s team members or clients, enabling them to review changes and provide feedback before deployment is invaluable. Cloud-based staging solutions are especially helpful for remote access and streamlining approvals. Check if your hosting provider offers staging capabilities, or explore WordPress-specific staging plugins. Don’t forget to clean up outdated files regularly to keep your workspace efficient.
Running Your QA Workflow
Once your planning is done and your staging environment is set up, it’s time to dive into your QA workflow. Testing at every stage of your project is key – it helps you catch problems early, saving time and money in the long run.
Pre-Development Testing
Before you write a single line of code, take a close look at your setup. This step helps you avoid compatibility problems and security risks down the road. Start by backing up your site and conducting a thorough audit of your setup. Make a detailed list of all installed plugins, noting their versions, the date they were last updated, and author details.
“A plugin audit involves a complete review and evaluation of all installed plugins on a WordPress site. The main reason behind it is to identify outdated, useless, coded, or redundant plugins that may impact the site’s performance and security and slow down your website.” – Brian Denim
WordPress expert Brian Denim updated his plugin audit guide in February 2025, emphasizing the importance of regular audits to spot problematic plugins early. Pay close attention to version compatibility – many users report errors caused by mismatched PHP versions. Make sure your WordPress core, themes, and plugins align with your server’s PHP version. Security is another big concern, with around 30% of plugin failures linked to vulnerabilities. Use tools like WPScan to identify risks in your setup. Outdated software accounts for roughly 60% of reported vulnerabilities, so prioritize updates flagged during your audit.
Don’t forget performance testing. Tools like Query Monitor can establish baseline metrics, giving you valuable data to compare against as you make changes.
From here, move into continuous testing during development to catch issues as they arise.
Testing During Development
Testing during development is the best way to catch bugs early when they’re easiest to fix. Instead of waiting until the end of your project, make testing an integral part of your development process.
Test-driven development (TDD) is a great approach – it involves writing tests before the code itself. This ensures your code works as expected from the start. Techniques like mocking and dependency injection help create reliable tests, while automated testing tools handle repetitive tasks like compiling code, running tests, and setting up environments. For WordPress projects, PHPUnit is an excellent choice for unit testing custom code, and Behat works well for behavior-driven testing, reducing the risk of human error.
Use linters and code review tools to catch mistakes automatically. Continuous Integration (CI) is another helpful practice – it encourages frequent updates to a shared repository and automates building, testing, and deployment.
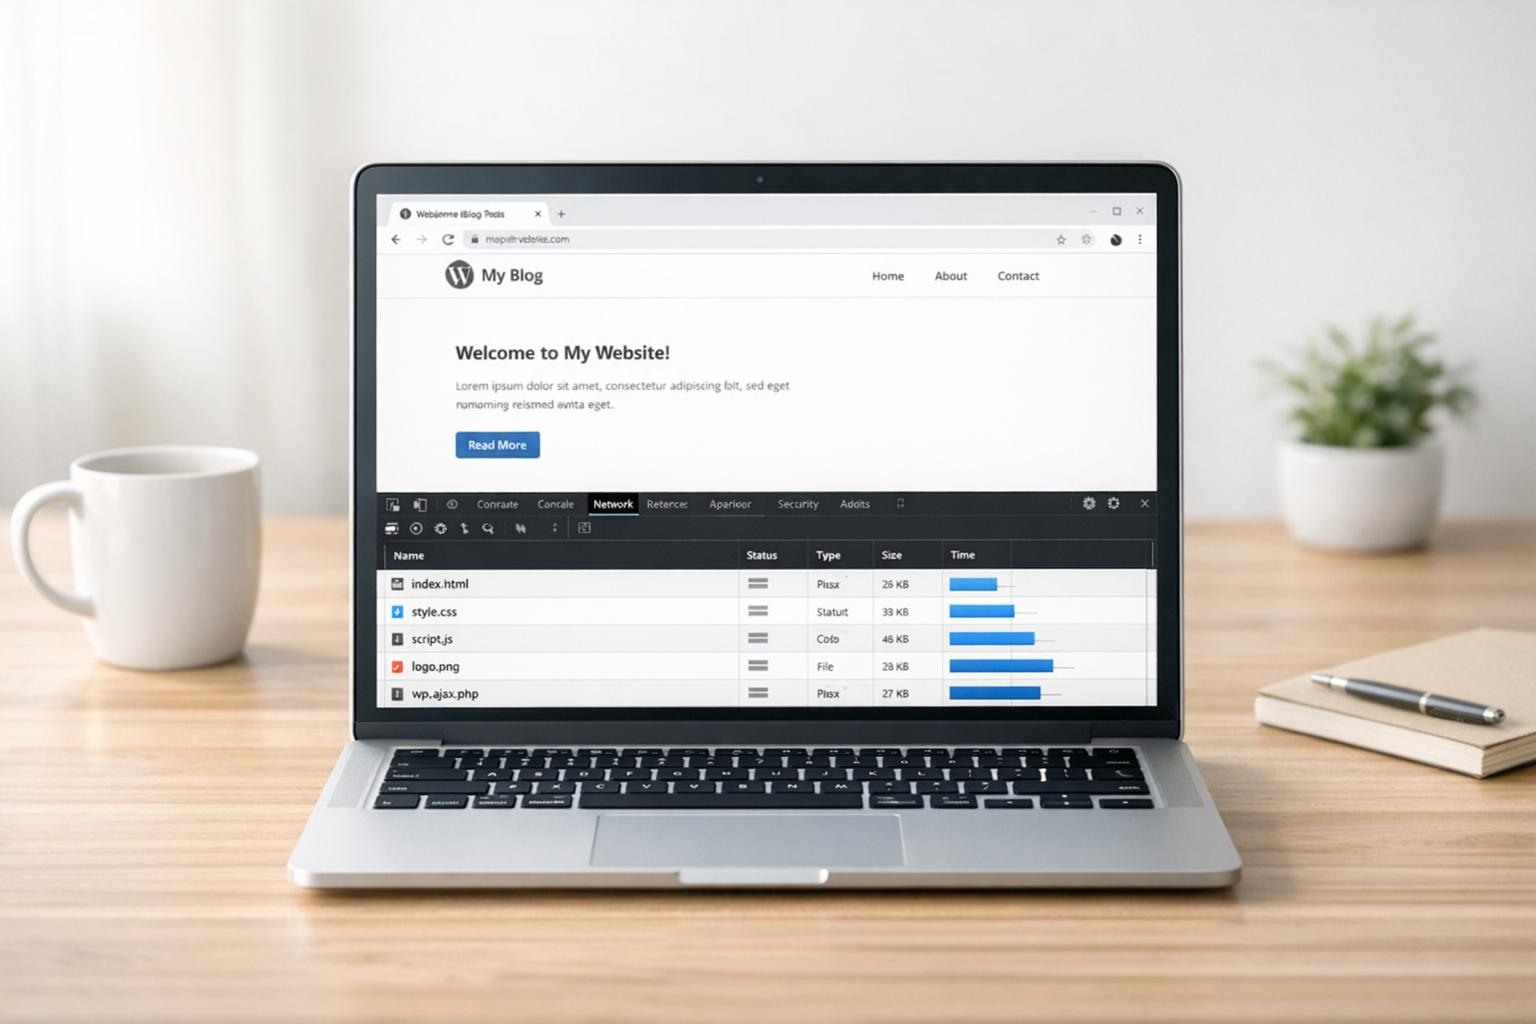
Frontend testing is essential for WordPress projects. Make sure your site works seamlessly across different browsers and screen sizes. Check that navigation menus, buttons, links, and forms function properly, and verify that fonts, colors, and spacing display as intended. Use tools like Google PageSpeed Insights or GTmetrix to monitor loading speeds as you add new features. Keep your test suite up-to-date by adding tests for new functionalities and removing outdated ones.
Post-Launch QA and Monitoring
Your QA workflow doesn’t stop once your site is live. Post-launch monitoring is critical to catch and address issues quickly.
Start with performance monitoring. Track page load times, uptime, and server response times using tools like Pingdom or WebPageTest. Set up alerts so you’re notified immediately if performance dips below acceptable levels.
Security monitoring is just as important. Use security plugins, enforce strong user authentication, limit login attempts, and keep WordPress updated. Regular security scans help you stay ahead of vulnerabilities.
Set up automated backups with plugins like Jetpack, Duplicator, or UpdraftPlus, and store these backups off-site for quick recovery in case of problems. Be sure to test your backup restoration process regularly.
To maintain your SEO, keep an eye on website traffic, keyword rankings, and backlinks. After major updates, generate a new sitemap.xml file and submit it to Google Search Console. Check that elements like web fonts and 301 redirects are functioning correctly to preserve your site’s visual appeal and SEO value. Use Google Analytics to track user behavior, traffic, and conversion rates.
Whenever you introduce new features or updates, conduct regression testing to ensure existing functionalities remain intact. A detailed post-launch checklist can help confirm that your site is running smoothly and delivering an excellent user experience.
sbb-itb-976b402
Adding QA to Your Development Process
Incorporating QA into every stage of development helps identify problems before they escalate into expensive fixes. By integrating QA early, you can address issues when they are easier and less costly to resolve.
Quality assurance works best when it becomes a team effort. When everyone shares responsibility for quality, potential problems can be detected and addressed immediately. This approach ensures that quality is woven into each phase of your workflow.
“Quality is not the responsibility of the QA team alone – it is the result of a well-designed system where every employee contributes to excellence.”
To make this collaboration effective, developers and QA teams need to work closely every day. Establishing clear communication channels ensures that feedback is handled quickly and efficiently. This alignment also allows teams to identify and resolve potential issues as early as the planning and design stages.
It’s important to remember that QA doesn’t stop once your site goes live. Maintaining high standards requires regular upkeep. A scheduled maintenance routine ensures that quality remains consistent throughout your project’s lifecycle. Over time, this approach naturally leads to more automated workflows and better collaboration with clients.
Automating QA with CI/CD Pipelines
Using Continuous Integration and Continuous Deployment (CI/CD) pipelines can revolutionize your QA process. These pipelines automate testing at every step of development, catching bugs early and maintaining consistent code quality. They handle tasks like code integration, testing, and deployment automatically. For example, when a developer pushes new code, the pipeline runs test suites, checks for conflicts, and validates functionality before merging changes. This reduces the need for manual intervention.
The benefits can be striking. Take Decisely, an employee benefits and HR solutions provider. After adopting Pantheon and automating their deployment process, they saw a fivefold boost in efficiency. Brittany Rapheal, Senior Web Developer at Decisely, shared:
“Pantheon’s Multidev has been a game-changer. Prior to Multidev, when we were on WPEngine, I had to make an update and pray that it wouldn’t take down all 150 of our sites that are connected. Because I was literally pushing everything directly to our live sites. And that’s terrifying.”
To enhance automated testing, consider tools like PHPUnit, Behat, and Cypress. WP-CLI can also be used to streamline tasks such as resetting databases or installing plugins during testing. Start by automating tests for your core features, gradually expanding coverage while keeping tests easy to read and maintain. Use CI pipelines to run these tests automatically with every pull request, ensuring that no untested code makes it into production. These steps build on earlier QA efforts, ensuring reliable and smooth deployments.
Including Client Feedback Loops
Client feedback is essential for delivering WordPress projects that meet both expectations and requirements. Set up clear communication protocols to ensure feedback is routed efficiently to the appropriate team members. This prevents confusion and ensures feedback is acted on promptly.
Involving clients early in the process can help keep the project on track and aligned with their vision. Providing secure preview links allows clients to comment directly on the work, making feedback more actionable. Demo sites also let clients test functionality as end users would, enabling real-time collaboration and iterative improvements.
Addressing feedback early reduces misunderstandings and keeps the project from veering off course. It also strengthens trust, paving the way for long-term partnerships. Incorporating client insights helps refine user interfaces, improve navigation, and enhance performance – ensuring the final product meets actual user needs.
Using WP Support Specialists for QA Success
Bringing in outside expertise can make a world of difference for your QA workflow, enhancing both its reliability and efficiency. WP Support Specialists bring over a decade of WordPress QA experience to the table, helping you avoid common pitfalls and technical hurdles that can sideline even the best-planned projects. They excel at spotting ambiguities in features or misaligned release plans, addressing these issues early before they snowball into expensive problems. Their expertise integrates seamlessly into every phase of your QA process.
The stakes are high: over 30,000 websites are hacked daily, and 73% of WordPress sites have security vulnerabilities. Even more alarming, one in four hacked sites never fully recovers. These statistics highlight the critical need for seasoned professionals to oversee and maintain your QA processes.
Managed QA and Maintenance Solutions
WP Support Specialists offer maintenance plans designed to complement your QA workflow, with services like automated updates, security audits, and performance monitoring. Their proactive approach is vital in a landscape where 90,000 WordPress sites face attacks every minute. By conducting regular QA checks, swiftly addressing issues, and documenting every change clearly, they help prevent problems before they arise.
One standout example of their impact comes from a case study with Forethought.ai. WP Support Specialists handled extensive QA testing and resolved bugs by aligning mobile and desktop views, improving footer icon consistency, enhancing security with two-factor authentication and advanced header configurations, and optimizing performance through HTTPS conversion, image resizing, and a detailed SEO audit. The results? Google Page Speed scores of 94/100 on mobile and near-perfect scores on desktop, with a lightning-fast load time of just 0.5 seconds on Pingdom.
Their maintenance plans include a range of features tailored to different needs:
| Plan Level | Monthly Cost | Response Time | Key QA Features |
|---|---|---|---|
| Essential | $80 | 24 hours | 24/7 uptime monitoring, monthly backups, core updates |
| Secure | $160 | 12 hours | Security optimization, malware monitoring, unlimited edits |
| Optimize | $230 | 8 hours | Speed optimization, e-commerce support, daily backups |
| Custom | $400 | 6 hours | Custom updates, performance checks, 6-hour backups |
These plans offer clear financial benefits. Fixing a broken site through a freelancer costs at least $300, while emergency repairs can exceed $300 per incident. With maintenance plans starting at $80 per month, the cost savings are undeniable compared to reactive fixes.
Emergency Fixes and Custom Development
Sometimes, routine maintenance isn’t enough. That’s where WP Support Specialists’ emergency support and custom development services come in. They offer a 2-hour response window, available 24/7. Whether it’s a botched WordPress update, malware on a hacked site, or another urgent issue, their quick action minimizes downtime, protecting both your revenue and reputation.
For more specialized needs, they also provide custom plugin development and feature creation. When off-the-shelf plugins don’t meet your requirements, their custom solutions ensure functionality, accessibility, and alignment with your brand and business goals. This tailored approach blends technical performance with user-friendly design.
Additionally, their automation tools streamline QA by handling repetitive tests, ensuring faster feedback and smoother releases. This combination of automation and professional oversight creates a highly efficient workflow.
To maximize the benefits of their services, establish clear communication from the outset and promptly respond to requests for additional details. This collaborative approach keeps your QA processes running smoothly and effectively throughout your project.
Building a Reliable QA Workflow
Creating a dependable QA workflow is essential for building user trust and protecting your brand’s reputation. A well-structured QA process ensures your WordPress site operates smoothly, performs efficiently, and delivers a seamless experience across all devices and browsers.
To get the most out of QA, start early. Integrate QA into every phase of development. This proactive approach not only aligns with established standards but also helps you catch potential issues before they snowball into costly problems. By addressing bugs and inefficiencies early, you save both time and resources while maintaining superior quality.
Collaboration is another cornerstone of an effective QA workflow. Use tools like JIRA and Slack to encourage regular feedback and communication. This keeps everyone on the same page, ensuring quality standards and project goals are consistently met.
A thorough QA process covers multiple areas: functionality, performance, security, and user experience. Each of these requires targeted testing. Automated tools, such as linters and static code analyzers, are invaluable for identifying issues early in the process, even before human reviewers step in. Configuration management tools can further streamline your workflow. That said, manual testing remains irreplaceable for evaluating the real-world user experience.
Consistency is key, and documentation plays a big role in achieving it. Clearly outline your coding standards and workflows. Document any issues discovered during testing and share them promptly with your development team. This not only ensures transparency but also helps prevent recurring problems.
Accessibility is no longer optional. With the European Accessibility Act (2025) on the horizon, comprehensive accessibility checks are now a must. Ensuring your site is inclusive benefits all users and keeps you compliant with evolving regulations.
QA doesn’t end at launch. Ongoing maintenance is critical to sustaining quality. Set up a routine schedule for performance monitoring, security updates, and periodic functionality reviews. Regular updates ensure your site continues to meet high standards over time.
“Quality Assurance is a critical component of successful WordPress development. By ensuring that websites are functional, secure, and user-friendly, QA enhances user satisfaction and builds trust in your digital presence.” – Faraz Frank, Freelance WordPress developer
Quality Assurance is an ongoing process. Set high benchmarks and aim for a site that not only works but excels in every aspect. By maintaining this cycle, you can consistently elevate your site’s quality.
FAQs
What tools are essential for automating a QA workflow in WordPress projects?
To streamline a QA workflow for WordPress projects, you’ll need some essential tools to boost both efficiency and reliability. PHPUnit is indispensable for unit and integration testing, ensuring your code integrates smoothly with WordPress core and plugins. For browser testing, Selenium is a powerful choice, enabling you to automate user interaction simulations and confirm that your site performs well across various browsers. Meanwhile, GitHub Actions simplifies continuous integration by automating workflows and testing, helping you achieve faster and more dependable deployments.
Together, these tools reduce manual tasks, enhance code quality, and make the QA process for your WordPress projects much smoother.
How can you effectively incorporate client feedback into the QA process for WordPress projects?
Incorporating client feedback into the QA process is crucial for delivering WordPress projects that align with client expectations. One effective approach is to set up a collaborative feedback system. For instance, creating demo sites gives clients a chance to explore the project as it develops and suggest changes in real time.
Keeping communication lines open is equally important. Schedule regular feedback sessions and provide updates to capture client input and address it promptly. This proactive approach ensures the development stays on track with their vision and reduces the need for major revisions later. By maintaining clear communication and a structured process, client feedback becomes a valuable asset for project success.
Why is a staging environment essential for WordPress projects, and how can you set it up for effective QA testing?
A staging environment plays a crucial role in WordPress projects, offering a safe space to test updates, new features, or significant changes without interfering with the live site. This helps reduce the risk of downtime, bugs, or other disruptions, ensuring users enjoy a seamless experience. It also provides a collaborative space for teams to fine-tune everything before making changes public.
To create a staging environment, you can replicate your live site on a subdomain, a separate server, or by using a WordPress staging plugin. Be sure to keep the staging site private and inaccessible to the public until all updates have been thoroughly tested and approved. This approach allows you to carefully assess functionality, performance, and design changes while keeping your live site safe from potential problems.