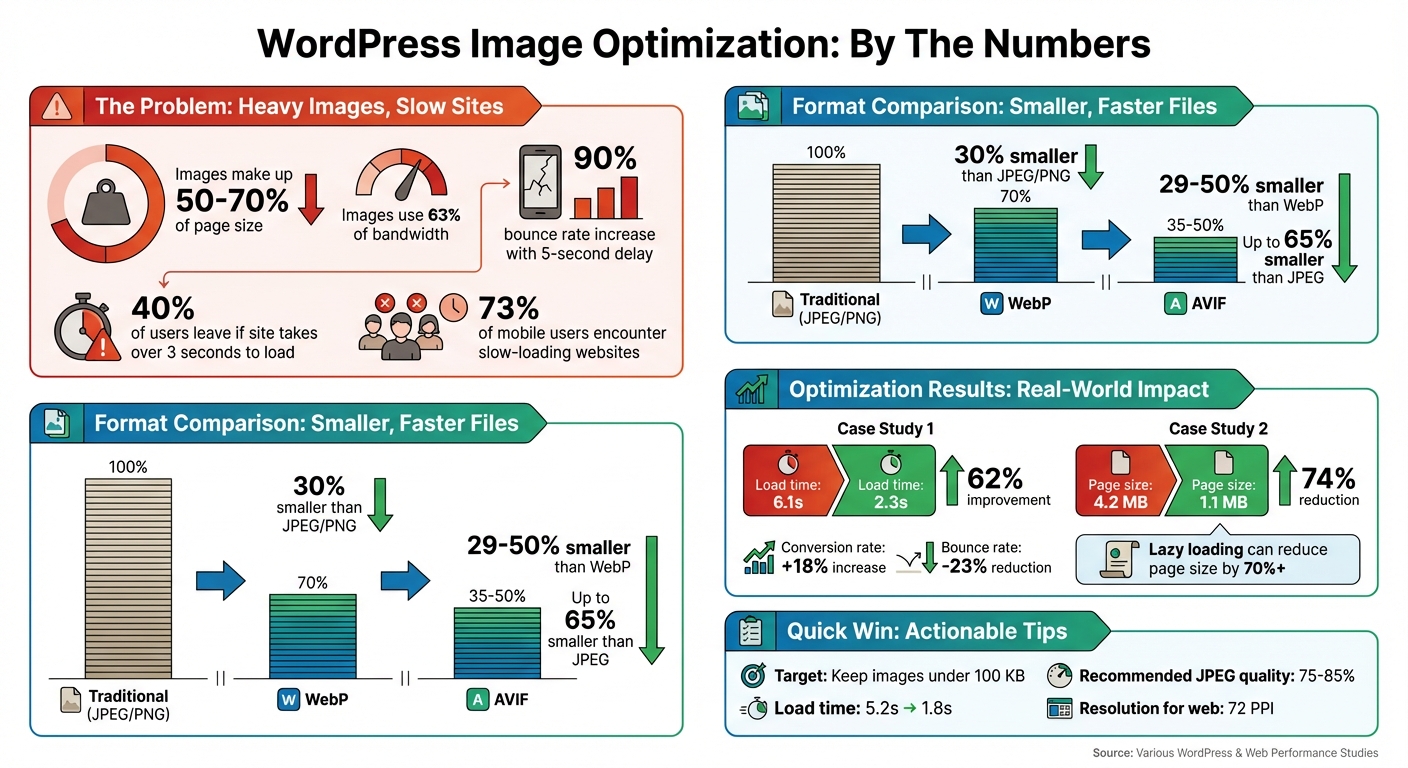
Images are the heaviest part of most websites, making up 50–70% of page size and using 63% of bandwidth. If your site takes over 3 seconds to load, you risk losing 40% of users, and bounce rates can jump by 90% with a 5-second delay. Optimizing images is critical for faster loading, better SEO, and lower hosting costs. Here’s what you need to know:
- Why it matters: Faster load times improve user experience, boost search rankings, and reduce bounce rates.
- Key steps: Use modern formats like WebP and AVIF, resize images to fit display dimensions, and compress files without losing quality.
- Automation tools: Plugins like ShortPixel, Imagify, and EWWW Image Optimizer simplify optimization and save time.
- Advanced tips: Enable lazy loading, use responsive image attributes (
srcset), and clean up unused files in your media library.
WordPress Image Optimization Impact Statistics and Performance Metrics
Why Image Optimization Matters for WordPress
Faster Site Speed and Better User Experience
Images are often the heaviest elements on a webpage, adding anywhere from 3 to 5 seconds to load times since they require a full download upon entry. That extra time can seriously impact how visitors experience your site.
Here’s the reality: 73% of mobile users encounter slow-loading websites, and 79% of those frustrated visitors won’t come back. High-performing sessions, on the other hand, often feature 38% fewer images. Simply put, unoptimized images not only weigh down your site but also hurt user engagement.
"First impressions count. Clog up your site with unnecessarily large images, and you risk antagonizing your visitors straight out of the gate." – Avada Editorial Team
Modern optimization techniques can make a huge difference. For example, in October 2025, an e-commerce site optimized 35 product images per page by converting them from PNG to WebP and resizing them to 1,200 pixels wide. They also added lazy loading and implemented a CDN. The result? Product page load times dropped from 6.1 seconds to 2.3 seconds – a 62% improvement. These changes boosted conversion rates by 18% and reduced bounce rates by 23%. Lazy loading alone can shrink total page size by over 70%, ensuring users only download images they actually view. This not only enhances user retention but also sets the stage for better SEO.
Better SEO Performance
Image optimization doesn’t just affect speed – it directly impacts your site’s search rankings. Google prioritizes fast-loading sites, and page speed is a known ranking factor. Images play a critical role in metrics like Largest Contentful Paint (LCP) and Cumulative Layout Shift (CLS), two Core Web Vitals that influence your visibility in search results.
"Site speed is a Google ranking factor. This means that how fast or slow your page loads will dictate, to some extent, how well it ranks in search results." – WP Engine
Smaller, optimized images also make it easier for search engine bots to crawl and index your site. When your images are lighter, Google can process your pages faster, improving discoverability and rankings. Plus, descriptive filenames and alt text can help your images rank in Google Image Search, driving additional organic traffic. On the flip side, slow-loading images often lead to higher bounce rates, signaling poor quality to search engines and potentially harming your domain authority.
Reduced Bandwidth Usage and Hosting Costs
Optimized images don’t just improve speed – they can also save you money. Every time someone visits your site, data is transferred from your server to their browser. Since images typically account for the majority of your bandwidth usage, exceeding your hosting plan’s limits could result in costly overage fees or service interruptions.
"Most hosting providers enforce a bandwidth limit per plan, meaning you don’t have unlimited resources – and your images will quickly take up that space." – Tyler Stokes, WP Engine
5 Best Image Optimization Plugins for WordPress in 2025 (Tested & Compared)
Choosing the Right Image Formats
Picking the right image format is a balancing act between speed, quality, and SEO – a crucial part of optimizing images for WordPress. Since images typically make up about 50% of a webpage’s size, the format you choose can have a big impact on your site’s performance.
For photos with lots of color and detail, JPEG is your go-to format. It uses lossy compression to keep file sizes manageable while maintaining visual quality. For example, compressing an image to 75% quality can cut its size in half without a noticeable drop in appearance. On the other hand, PNG is better for graphics with text, logos, or transparency. PNG uses lossless compression, so no data is lost, but the tradeoff is larger file sizes – converting a JPEG to PNG can increase the file size by as much as 45%.
Here’s a quick breakdown of popular formats and when to use them.
JPEG, PNG, and GIF: Standard Formats
- JPEG: Best for detailed photographs and images with many colors. It supports millions of colors and compresses well, but lacks transparency and animation support. Use JPEG for product photos, hero images, or any high-detail visuals where file size matters.
- PNG: Ideal for images that need sharp clarity, like screenshots, logos, and icons. It’s also the go-to for any graphic with transparency or text. While PNG maintains excellent quality, it comes with larger file sizes.
- GIF: Works for simple, low-resolution animations but is limited to 256 colors. For better performance, consider converting GIFs to MP4 or WebM formats, which are smaller and more efficient.
For better performance and smaller file sizes, modern formats like WebP and AVIF are worth considering.
WebP and AVIF: Modern Formats
WebP is a great choice for WordPress users. Created by Google, it combines the strengths of JPEG and PNG, offering both lossy and lossless compression, transparency, and animation support. Plus, WebP files are about 30% smaller than equivalent JPEGs or PNGs. Since WordPress added native WebP support in version 5.8, and with browser compatibility now at around 95%, WebP is an excellent default format for most sites.
AVIF (AV1 Image File Format) takes compression to the next level. It can reduce file sizes by 29% to 50% compared to WebP while keeping visual quality intact. In fact, AVIF images can be up to 65% smaller than JPEGs for the same content. It also supports HDR and 10/12-bit color, making it perfect for vibrant, high-resolution images. WordPress has supported AVIF since version 6.5, provided your server has the necessary tools like ImageMagick or GD with libavif. While browser support is now at about 93%, some platforms like X and LinkedIn don’t yet support AVIF for link previews, so having fallback formats is essential.
"AVIF support is particularly impressive, delivering 30-50% better compression than WebP while maintaining excellent visual quality." – CompressX Plugin Review
For the best results, use WebP as your default format for most images, and opt for AVIF on key visuals like hero images to improve metrics like Largest Contentful Paint (LCP). A multi-format approach ensures your content looks great across all devices and platforms.
Resizing and Compressing Images for WordPress
Optimizing your images is one of the quickest ways to boost your WordPress site’s speed. On mobile devices, images make up about 37% of a website’s total page weight. The good news? You can significantly cut down file sizes without compromising quality.
Resizing Images to Fit WordPress Dimensions
When you upload an image to WordPress, it automatically generates four versions: Thumbnail (150px square), Medium (up to 300px), Large (up to 1024px), and Full (the original size). Since WordPress 5.3, it also creates a "scaled" version for images larger than 2560px in width or height to prevent enormous files from slowing down your site.
To get the best results, resize your images before uploading them. Use your browser’s developer tools to check your theme’s image container dimensions. Then, upload images that are 1.5 to 2 times the container’s width to ensure sharp visuals on Retina displays. For instance, if your content area is 600px wide, upload a 1200px-wide image. Also, set your image resolution to 72 PPI (pixels per inch), as higher resolutions are only needed for print.
If you’ve adjusted the default image sizes in Settings > Media, you’ll need to update your existing images. Plugins like "Regenerate Thumbnails" can help with this. For automatic resizing during upload, consider using a plugin like Imsanity, which enforces maximum width and height limits, catching oversized images before they’re added to your media library.
Once your images are properly resized, the next step is compression, which can further improve loading times.
Compression Techniques: Lossy vs. Lossless
Lossy compression is ideal for most web content. It permanently removes unnecessary data from image files, allowing you to shrink a JPEG by over 90% while keeping it visually acceptable. For example, setting JPEG quality to 75% can often cut the file size in half without any noticeable difference. This method works well for photos, blog posts, and other general web images where speed matters most.
Lossless compression, on the other hand, removes metadata – like EXIF data (camera settings, GPS location) – but leaves the actual image pixels untouched, preserving 100% of the original quality. The downside? The file size reduction is smaller, usually between 5–20%. This technique is best for logos, icons, and graphics where maintaining pixel-perfect quality is essential.
| Compression Type | Best For | Quality Retention | Size Reduction |
|---|---|---|---|
| Lossy | Photos, blog posts, general content | High (minor loss) | Very High (up to 90%+) |
| Lossless | Logos, icons, detailed graphics | 100% (no loss) | Moderate (5–20%) |
For manual compression, tools like TinyPNG, Google Squoosh, and GIMP let you tweak quality settings before uploading. For example, when exporting JPEGs from GIMP, set the quality to 60 and use "4:2:0 (chroma quartered)" subsampling for a good balance. If you’d rather automate the process, plugins like ShortPixel and Imagify can handle compression on their own servers, ensuring your WordPress host remains fast and responsive.
As a general rule, aim to keep individual image files under 100 KB. This is especially important for mobile users, where performance is critical.
sbb-itb-976b402
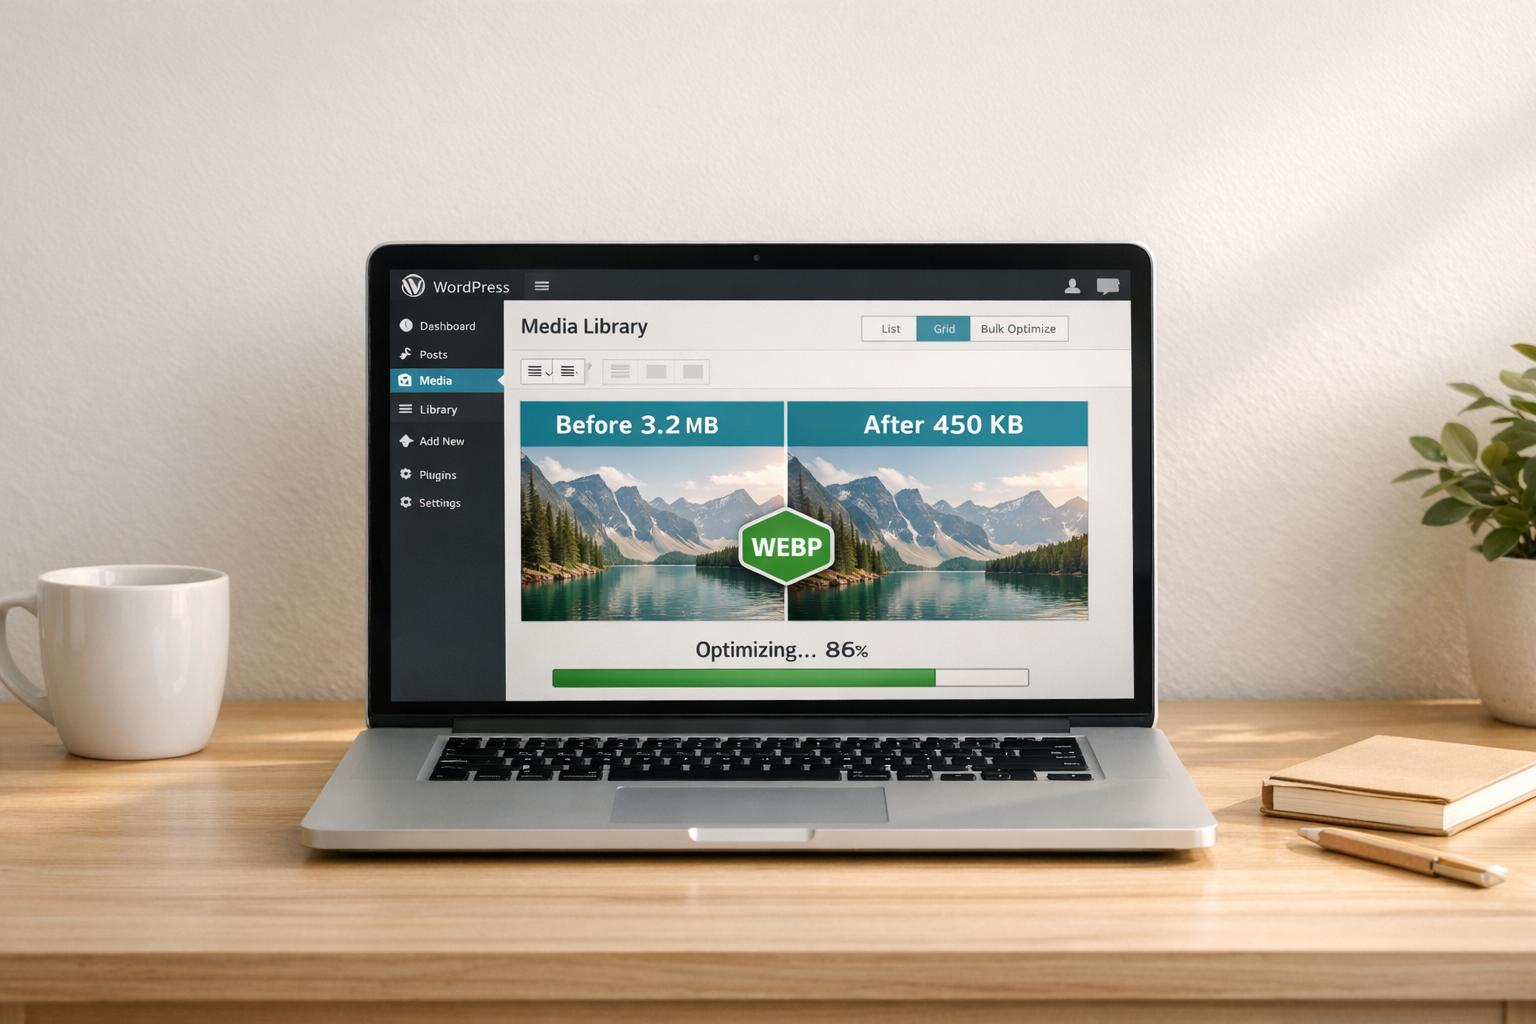
Using WordPress Plugins for Image Optimization
After manually resizing and compressing your images, WordPress plugins can take over to maintain consistent performance. These tools streamline the process, ensuring your images are always optimized without requiring constant manual intervention.
Top Image Optimization Plugins
Several plugins make image optimization a breeze. Here are some popular options:
- EWWW Image Optimizer: Offers both local and cloud-based processing for efficient optimization.
- ShortPixel: Features three compression modes and supports HEIC and PDF formats.
- Optimole: A fully cloud-based solution with adaptive image sizing and a CDN boasting over 450 edge locations worldwide.
- Imagify: Provides smart compression, AVIF format support, and one-click bulk optimization.
Pricing varies depending on the plugin and your needs. For example, EWWW’s premium features start at about $5.83/month, ShortPixel begins at $8.32/month after 100 free images, and Imagify costs $4.99/month for 200 free images. Optimole offers a free plan for up to 1,000–2,000 monthly visits, with premium plans ranging from $20 to $22.50.
Cloud-based plugins have the added advantage of offloading processing tasks from your server, reducing its workload. Many modern plugins also convert images to next-generation formats like WebP and AVIF. These formats can shrink JPEG file sizes by 25–34%, with an additional 29% reduction when converting from WebP to AVIF.
Setting Up Automatic Optimization
Once you’ve chosen a plugin, setting it up for automatic optimization is simple. Start by installing the plugin through your WordPress Dashboard. After activating and registering it, enable automatic optimization to ensure every new upload is processed.
Most plugins let you choose between different compression settings:
- Lossy: Maximizes file size reduction.
- Glossy: Balances quality and size.
- Lossless: Retains perfect image quality.
You can also use the bulk optimization feature to process your existing media library in one go. Additional options may include removing EXIF data (like camera settings and GPS info) and enabling lazy loading to improve page load times.
To prevent oversized files from hogging server space, set a maximum image upload size (e.g., 2,000px or 2,560px). If your plugin includes a built-in CDN, activating it can serve images from global edge locations, potentially speeding up delivery by as much as 68%. Just remember: avoid using multiple image optimization plugins simultaneously, as this can cause conflicts and redundant processing.
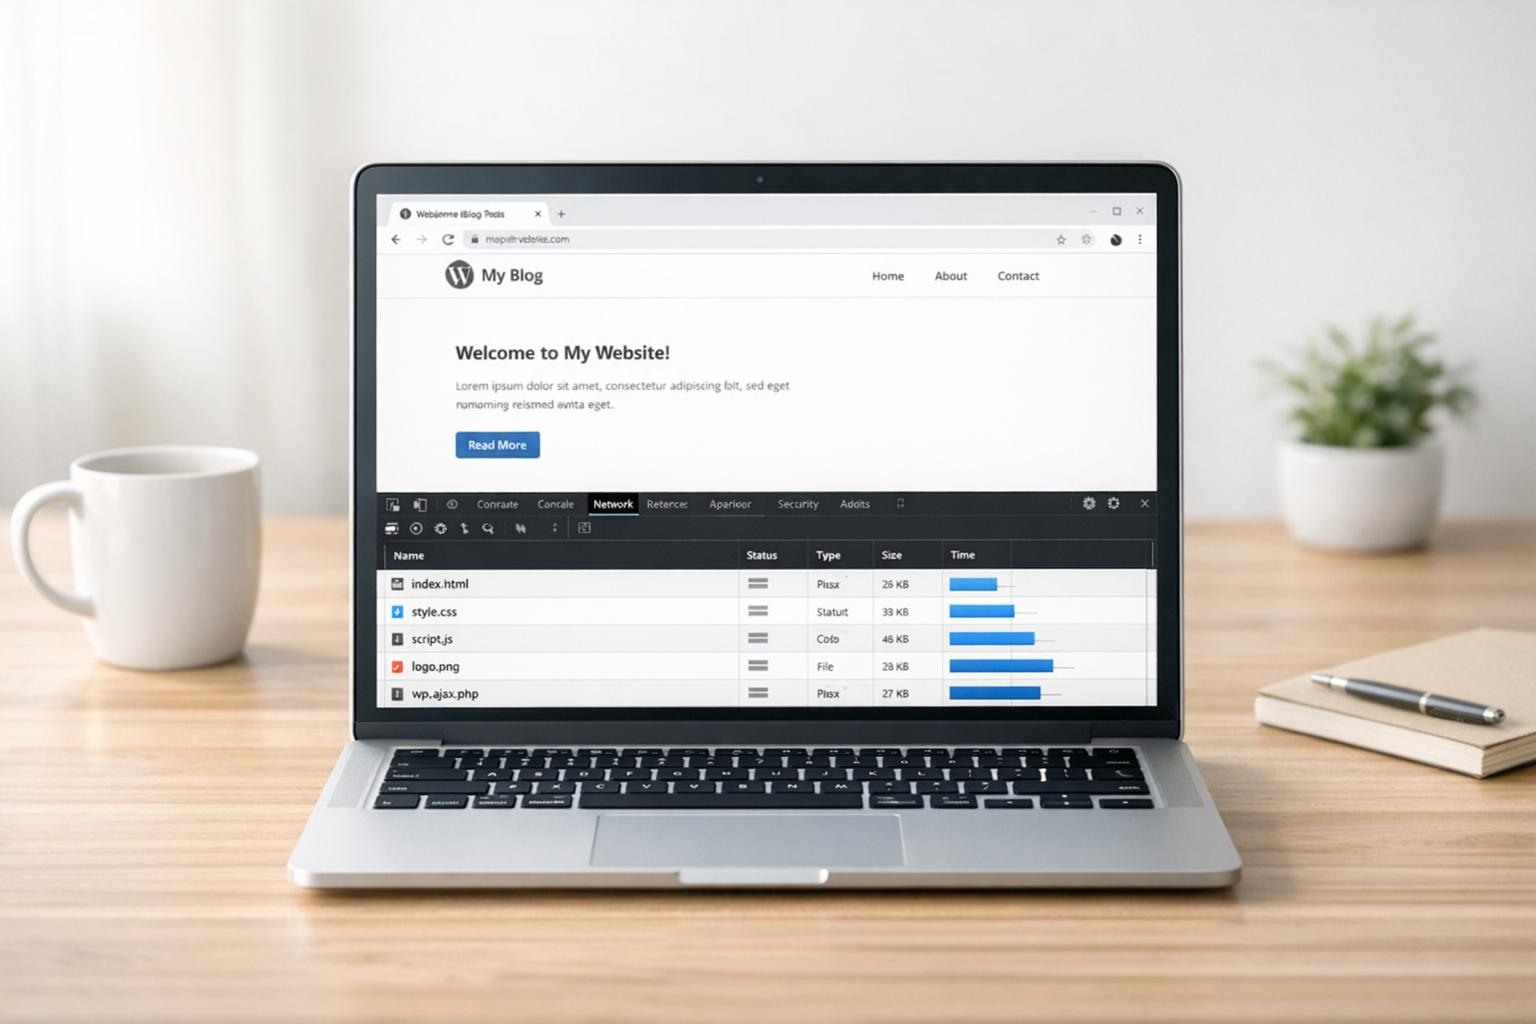
Improving Delivery with Responsive Images and Lazy Loading
Delivering images effectively is crucial for faster page loads and better user experience. Two key techniques to achieve this are responsive images and lazy loading. Let’s break down how these methods work and how to implement them using tools like srcset and WordPress features.
Responsive Images with srcset
Since WordPress 4.4, the platform has automatically generated multiple image sizes for every upload. This is where the srcset attribute comes in – it allows browsers to choose the best image size based on the user’s screen resolution and viewport width.
Why is this important? Imagine a mobile user visiting your site. They don’t need to download a massive 3,000px-wide desktop image. Instead, thanks to srcset, the browser can serve a smaller version, say 750px wide, saving bandwidth and speeding up the page. For Retina displays, the browser will automatically select a sharper, higher-resolution image.
To use responsive images effectively, always include width and height attributes in your image tags. This prevents layout shifts and improves your Cumulative Layout Shift (CLS) score. For Retina screens, upload images that are 1.5 to 2 times the width of your theme’s content area to ensure they look crisp. You can also pair srcset with the sizes attribute to give browsers precise instructions on how wide an image should be at different breakpoints.
Enabling Lazy Loading in WordPress
Lazy loading is a game-changer for image-heavy websites, but it’s important to use it wisely. Avoid lazy loading critical above-the-fold images like your hero image or logo. These are often your Largest Contentful Paint (LCP) elements, and delaying their load can harm your performance scores. While many performance plugins automatically exclude LCP images from lazy loading, if you’re using WordPress’s native lazy loading, you’ll need to manually remove the loading="lazy" attribute from these images. For more control, you can disable native lazy loading entirely by adding this code to your functions.php file:
add_filter( 'wp_lazy_loading_enabled', '__return_false' ); Lazy loading defers the loading of offscreen images until they’re needed, reducing total page size by over 70%. Since WordPress 5.5, this feature is built in, automatically adding loading="lazy" to images that include defined width and height attributes.
The impact on performance is significant. In October 2024, Belov Digital Agency shared that a client website with many high-resolution images saw a 30% reduction in initial page load time after enabling lazy loading. This improvement matters because even a 1-second delay in page load time can lead to a 7% drop in conversions. Plus, pages that take 5 seconds or more to load face a 90% higher bounce rate on average. These stats highlight just how critical speed is for keeping users engaged and converting.
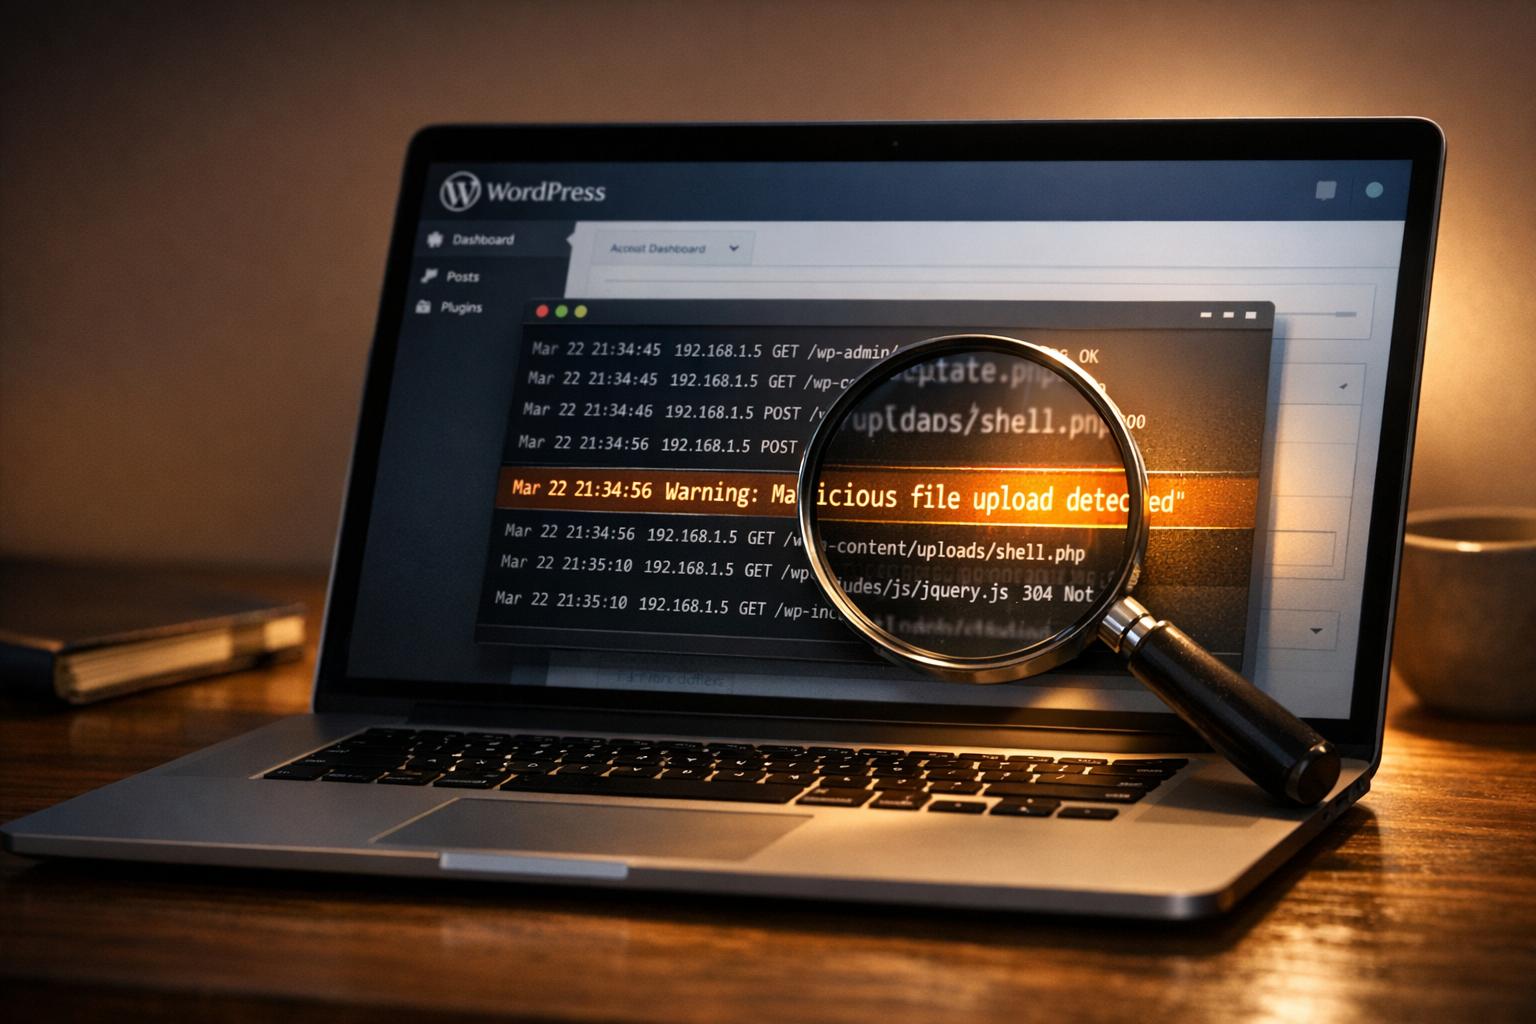
Cleaning and Maintaining the WordPress Media Library
Keeping your WordPress media library tidy goes hand-in-hand with optimizing images, helping to improve site speed and reduce hosting costs. This cleanup process complements the image compression and delivery strategies previously discussed.
A cluttered media library can lead to higher expenses. Media files often consume the majority of your server’s storage and account for roughly 63% of website bandwidth. Plus, WordPress automatically generates multiple image sizes for each upload. For instance, a single 3 MB photo can balloon into 6–8 MB. Over time, this accumulation slows down backups, increases storage costs, and makes file management more difficult.
Removing Unused and Duplicate Images
Before removing any files, always back up your site. Media deletions cannot be undone. Once your backup is secure, consider using tools like Media Cleaner to scan your posts, pages, and widgets for images that are no longer in use. For a deeper search, plugins like Search & Replace Everything can comb through your entire database for unused images.
To tackle duplicate files, try Media Deduper, which offers a "Smart Delete" feature to consolidate duplicates. For example, one site reduced its backup time by 73% – from 45 minutes to just 12 minutes – after clearing 2 GB of unused images. After cleanup, run Broken Link Checker to ensure no active images were accidentally removed. Regular maintenance not only frees up storage space but also helps keep your site running smoothly.
Scheduling Regular Optimization Tasks
Set a schedule for routine media audits. High-traffic sites, like e-commerce stores or busy blogs, should review their media library every 3–6 months. Smaller sites can often get by with an annual cleanup. To prevent unnecessary clutter, disable default image sizes that your theme doesn’t use by navigating to Settings > Media. For example, if your theme doesn’t require 150px thumbnails, you can stop WordPress from generating them with every upload.
To maintain these improvements, schedule consistent audits and consider automation tools. Plugins like Smush Pro can handle compression, resizing, and flag images that exceed their container sizes. Similarly, ShortPixel and EWWW Image Optimizer can automate compression for both new uploads and existing files, ensuring your media library stays optimized. If you switch themes, use Regenerate Thumbnails to delete outdated image sizes and create ones that fit your new design. For advanced users managing large-scale sites, WP-CLI offers command-line tools to bulk delete unused or unattached media files, bypassing the WordPress dashboard entirely.
For expert help with optimizing your media library and ongoing WordPress maintenance, you can reach out to WP Support Specialists for customized solutions to keep your site efficient and organized.
Conclusion
Optimizing images in WordPress isn’t just a technical tweak – it directly affects your site’s speed, search rankings, and overall performance. Considering that images make up about 63% of bandwidth on modern websites, it’s clear why image optimization is such a critical step.
Here’s the game plan: use the right formats like WebP, JPEG, or PNG, resize images to match their display dimensions, and compress them to around 80-85% quality for a balance between clarity and file size. Modern formats like WebP can shrink file sizes by 25-35% compared to JPEGs without losing quality, and AVIF takes it even further with reductions of up to 50%.
Automation can simplify a lot of this. Tools that handle compression, format conversion, and lazy loading speed up your pages without constant manual effort. Pair these with a Content Delivery Network (CDN), which serves images from servers closer to your visitors, to reduce loading delays and ease the strain on your server.
However, automation isn’t the whole story. Regular media cleanups are just as important. WordPress creates multiple size variations for every upload, so one 3 MB image can balloon to 6-8 MB on your server. Scheduling periodic audits – quarterly for high-traffic sites or annually for smaller ones – helps keep storage manageable and backups efficient.
The impact of these efforts is undeniable. For example, one blog slashed its page size from 4.2 MB to 1.1 MB – a 74% reduction – and cut load times from 5.2 seconds to just 1.8 seconds. These kinds of improvements translate to faster websites, happier visitors, and better conversions. By adopting these strategies, you’ll not only boost your site’s speed and rankings but also create a smoother, more enjoyable experience for your users.
FAQs
How does optimizing images improve SEO and website speed?
Optimizing images is all about reducing their file size and scaling them correctly. This simple step can make a huge difference in how quickly your pages load. And let’s face it – nobody likes waiting for a sluggish website to load. Faster pages mean a smoother user experience, which is exactly what visitors (and search engines) want.
Plus, it directly impacts your Core Web Vitals, the performance metrics Google uses to evaluate and rank websites. When these metrics improve, your site becomes faster, ranks better in search results, and attracts more traffic. In short, image optimization is a win for both user satisfaction and SEO.
What are the advantages of using modern image formats like WebP and AVIF on your WordPress site?
Modern image formats like WebP and AVIF bring a host of benefits to your WordPress site. These formats can shrink file sizes by as much as 70–80%, all while maintaining excellent image quality. The result? Faster page load times, a smoother user experience, and reduced bandwidth usage – especially valuable for mobile users or visitors on slower internet connections.
These formats also come with advanced features like transparency and animation, making them flexible enough to meet a variety of design needs. Plus, by using these optimized image formats, you can give your site’s SEO a boost. Search engines favor websites that load quickly and provide a seamless experience for users.
How can I automate image optimization for my WordPress site?
Automating image optimization on your WordPress site is a straightforward way to save time and boost your site’s performance. Start by installing a plugin like Smush, ShortPixel, or Imagify. These tools often include an “optimize on upload” feature, which compresses and converts new images into efficient formats like WebP automatically.
For images already in your media library, you can use the plugin’s bulk optimization tool to compress them all at once. To improve loading times even further, enable WordPress’s built-in lazy loading feature, available since version 5.5. This delays loading off-screen images until they’re needed, reducing initial page load times.
For maximum performance, consider linking your site to a CDN. A CDN can deliver optimized and resized images directly from edge servers, ensuring faster load times for users worldwide.
Want to skip the technical setup? Services like WP Support Specialists can take care of everything for you, from configuration to ongoing monitoring, ensuring your site stays aligned with Core Web Vitals standards.