Figma has changed the WordPress web design game, making it a quicker, smoother process for those who design in teams. With Figma, each team member can work on specific elements of the project, provide feedback to other designers, and transfer the completed design to WordPress.
WordPress is easy enough to use, but if you don’t have any technical expertise, you might be wondering how you should go about transferring Figma to WordPress.
This is what we will cover in this guide.
Before You Convert Figma to WordPress…
There are several ways that you can transfer your Figma design files to WordPress to bring a website to life, but it can be difficult to make the transition without making major changes to the code of your site.
For this reason, it’s essential to create a backup of your website (if it’s already live) before you go any further. This way, if anything does go wrong, you can restore an older version of your site, ensuring you don’t go offline unnecessarily.
Even if you think you found a plugin or code-related solution that will make it easy to transfer your Figma files, we have yet to come across a solution that definitely won’t cause any issues during the transition. So however you choose to transfer your designs, a backup should always be your first step.
Transferring Figma to WordPress: Understanding Your Options
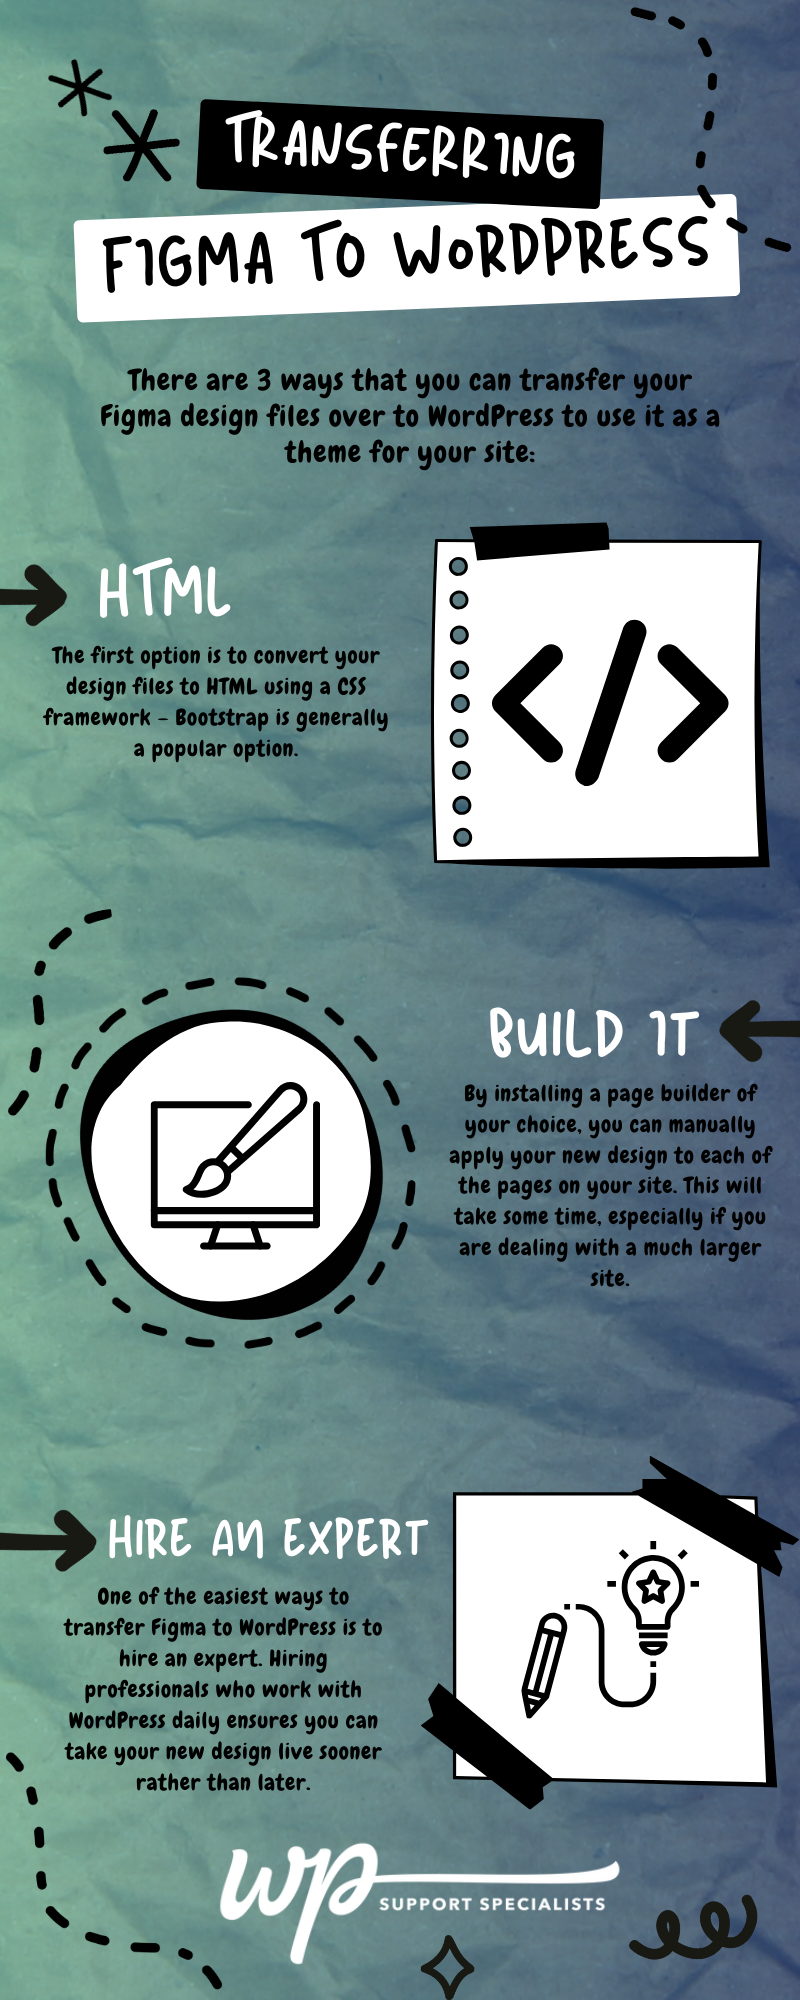
There are 3 ways that you can transfer your Figma design files over to WordPress to use it as a theme for your site:
1. The HTML Route
The first option is to convert your design files to HTML using a CSS framework – Bootstrap is generally a popular option. Yes, you could probably find a plugin to assist you with this conversion, but chances are it will create errors in your code that will mess up your design. A manual approach is recommended for this.
The files you will need to turn your HTML design into a WordPress theme include:
- functions.php
- style.css
- header.php
- footer.php
- index.php
- single.php
- page.php
You can even speed up the process by using a starter theme like Underscores to get the base wordpress files and start customizing right away.
Once you have these HTML files, you can turn them into a WordPress theme, which will push your new design live. Knowing where to utilise these files in order to turn them into a theme is where the technical know-how is required. You will also need to export the images from your Figma project so that they can be used in your future site directory.
Always keep in mind that large images take up a lot of hosting space, so always resize and optimize your images before uploading them to WordPress. You can use online tools such as PicResize or software such as Gimp or Photoshop to resize the images. Tools such as TinyPng can be used to reduce their size.
If technical knowledge is not an issue for you then this is the approach you should try first, particularly because it gives you more control over the code.
Don’t have this kind of technical background? There are two other options you can try.
2. Build the Design
While this route doesn’t require any serious technical knowledge, it is far more time-consuming. To get started, you will need to select a theme builder such as Elementor. Some of these builders can have a steep learning curve, but once you get the hang of the features, you can create pages in minutes.
Once you install the page builder of your choice, you can manually apply your new design to each of the pages on your site. As you can imagine, this will take some time, especially if you are dealing with a much larger site.
If you theme builder has a templating function make sure you make full use of that so that you don’t need to do the same work multiple time.
If you would prefer for this to be a quick and easy process, there is also a third option.
3. Hire an Expert
One of the easiest ways to transfer Figma to WordPress is to get an expert such as WP Support Specialists to assist you. Hiring professionals who work with WordPress daily ensures you can take your new design live sooner rather than later.
What’s more, it eliminates any unnecessary errors and the need to spend time troubleshooting issues with your site’s code.
At WP Support Specialists, we are passionate about WordPress, which means we stay up to date on the latest methods, processes, plugins, and best practices.
For Figma to WordPress projects, we first take the time to familiarise ourselves with your design before agreeing on the specifics and starting the process.
If you want to discuss your requirements, contact us here.
Best Practices for Transferring Figma to WordPress
Here are some best practices to follow for a smooth transition:
- Organize Figma files. Keep your Figma files organized with clear naming conventions, groups, and layers. This makes it easier to identify and export the necessary elements.
- Export images in the right format. It’s important to export images from Figma in the appropriate format (e.g., JPEG, PNG, SVG) based on your needs. Use SVG for logos and icons for scalability and sharpness.
- Use developer-friendly naming conventions. When naming layers and groups in Figma, use names that are developer friendly. Clear, descriptive names can make it easier for developers to understand the purpose of each element.
- Consider responsive design. Design with responsiveness in mind. Consider how your design will adapt to different screen sizes. Figma allows you to create frames for different screen sizes to help with this.
- Understand typography. Pay attention to typography details such as font sizes, line heights, and font families. Use web-safe fonts or include custom font files if needed.
- Check for consistency. Ensure consistency in spacing, colors, and styling across your design. Consistent design elements make it easier for developers to translate the design into code.
- Communicate interactions. Clearly communicate any interactive elements or animations. If your design includes hover effects, transitions, or other animations, provide notes or documentation to guide developers on how to implement them.
- Collaborate with developers. Prioritize open communication between designers and developers. Discuss the design choices, provide context, and be open to feedback during the implementation process.
- Test across browsers. After the WordPress theme is implemented, test it in multiple browsers to ensure cross-browser compatibility. Address any issues that may arise in specific browsers.
- Optimize images. Optimize any images for the web to reduce page loading times. You can use tools like TinyPNG or ImageOptim to compress images without sacrificing quality.
By following these best practices, you can streamline the process of transferring designs from Figma to WordPress and enhance collaboration between designers and developers.